Go ahead... sing it like the old Zeppelin song...
I think the last post was in September...
Actually, lots has happened, I just haven't spent the time in front of my computer to document it all.
Sorry Dad...
There's probably enough here for 3 separate blog posts, but because I'm so dang efficient, I'm combining them all into one tonight. Quality over quantity right?
So, I left you 2 months ago with the axle plates. Since that initial mock-up, I've added more of the "functionality" to them. The axle plates only need to do one thing: hold the axle. Brilliant, I know...
However, in order for the plates to do that, much has to be considered such as: how adjustable will the axle be? Will there be any "fine tuning?" Are they aesthetically pleasing? Do all the angles line up with the seat/chain stays? Rear disk brake, so where will the caliper be positioned? How will the caliper holder adjust with the axle? What will prevent the caliper from rotating around the axle while applying pressure to the brake rotor?
Behold, the finished axle plate:
Here you've got everything you saw in the previous post, but with the addition of the bolts for the "fine adjustment" of the axle.
This next pic shows the adjustment bolt a little better. Also, check out the drilled (for safety wire) axle nut. There is a washer on the adjustment bolt that I modified to accept the other end of the safety wire. That nut ain't goin' no where. -Side note... Prism Motorcycle Co. absolutely NAILED the re-threading of my axle. Sorry I don't have a picture of my new threads, but as you can see, there's a nut on it so... it works. -anyway, thanks Zach! Awesome job.
Here is the back-side of the axle plate showing the axle, brake caliper holder, and spacers:
This is the brake caliper holder guide. I can slide the axle fore and aft in the plates (to adjust the chain) and the brake caliper rides along. The 2 guides brazed to the back-side of the axle plate keep the caliper in position.
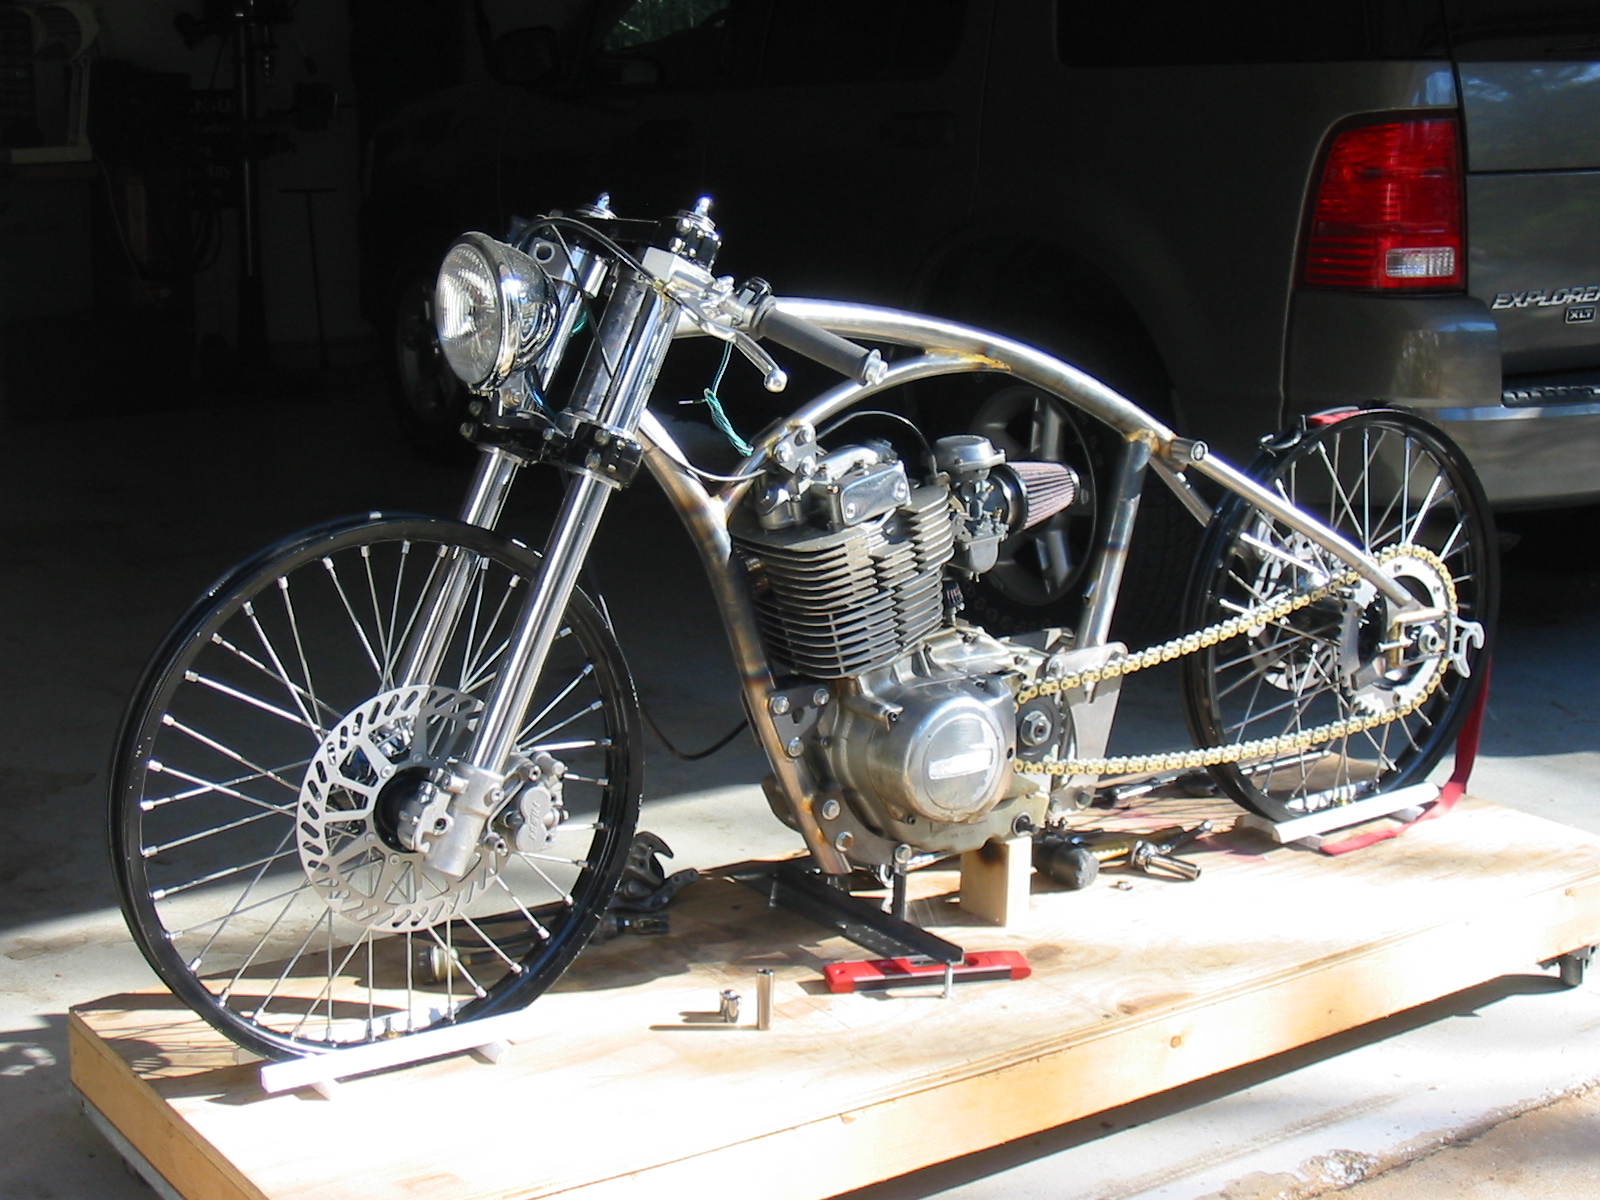
So, once it's all fitted together, we have this:
Never mind the red level on the back of the axle plate... that just shows me that my angles are right on. Also, notice the 2 seat-stays fitted (those are the 2 pieces of tubing that connect the axle plates with the main triangle of the frame) Told you I've been busy!
As long as we're talking about the seat-stays, I ordered 4 pieces of steel... one for each stay, 2 top and 2 bottom (the bottom tubes are called "chain-stays") I'll just take my time, measure twice, cut once, blah, blah, blah... Nice, gentle bend on one end, 76 degree miter on the other... length has to be perfect, notch the bottom to "bite" into the axle plate...
How hard can that be???
Well, for the first one I was too "in my head" that morning and in about 15 seconds I killed it. I had the whole thing done except for the bottom notch. I put it in my cross-slide vice, gently ran it into my cutting disk at exactly 90 degrees THE WRONG WAY! So much for my 4 pieces of steel.
But these look pretty good don't they?
...and the correct notch at the bottom... notice the bubble level, and the matching angle of the axle plate and seat stay tube... You'd think it was planned that way... I guess sometimes even I get it right.
Here are the tops all finished. Nice, smooth fillets blending from one to another. Yummy.
So my next step is to weld/finish the bottoms where the stays attach to the axle plates. I plan to "cap" the ends of the tubing somehow... I'll probably go with a "slash-cut" end, but I'm not sure yet. From there, the chain stays get bent and attached to the lower section of the frame. I'm not too worried about the brake caliper side, but the chain side will have some pretty critical bends in it. Hopefully I'll be able to take my time and not mess it up at the last step!
Then, it's tires, tubes, and rim strips...
I'll be rollin!
Thanks for your patience! I'm getting there...